Tuesday, February 10, 2015

Easy-Peasy Do-It-Yourself-Valentines!

I am sick of generic Valentine's Day cards that ALL the kids pass out. How many Frozen, Tinkerbell, Superheroes & Cars can one person take?!?!  
I admit, they spruced things up a little bit a few years ago by adding pencils, stickers & tattoo's to the mix. But now all that does is leave me with a drawer full of pencils, stickers & tattoo's that never get used! 

This year, I decided to do something different. Of course, I scoured Pintrest for ideas because that's what all of us non ingenious, borderline creative moms do, right? Thank goodness for Pintrest. 

So, after a few hours of looking at all the amazing, perfect, guaranteed, easy-to-do-yourself Valentines, the kids settled on what they wanted to do. 

My nine year old decided she wanted to make heart crayon molds. Perfect!!! I already had a ton of broken, not-used-anymore crayons just sitting in a drawer. we peeled the papers off all the crayons:

Peel off ALL the paper from the crayons.
Then cut the crayons up.
Fill try with cut up crayons.
Make sure ALL the paper has been removed. 


Next you will need a silicone tray. Lucky for me I had 2 heart shaped silicone ice cube trays that I had bought from Target in the Dollar Bin section! Fill the silicone tray with the cut up crayons


 Next we placed them in the oven, set at 200* for 10 minutes. Just to be safe, I placed the trays on a cookie sheet lined with aluminum foil, but this was just an extra precaution and it really didn't need it. It is helpful when having to take the trays out of the oven, because the silicone does get warm. So it's just easier to remove the cookie sheet. It's fun watching all the colors melt & blend together ...
Place in oven at 200* for 10 minutes
Crayons melting & blending together. 

Once you take the trays out of the oven, place them in the freezer. Be VERY careful when moving them as you don't want melted wax pilling on yourself or anything else. Yes, I found out the hard way and spent a good half hour using a paint scrapper to get melted wax off the
 kitchen floor.
Place in freezer for 10-15 minutes.
Or when the crayon has hardened.

After placing the trays in the freezer for a short period of time (about 10-15 minutes. You want them hard, but not too hard), remove the trays and gently push from the bottom to pop the mold out. I did over 30 and only broke one. For me, that is an accomplishment! 
Crayon Heart Molds

After the hearts were out, we cut out papers and used glue dots to affix them to the paper. You can use any design paper you like. 
Once we got all the hearts on the papers, my daughter wrote her Valentine message:
You Color my World!
Happy ♥ Day! 


The Finished product!! 


Phew!! One down ... one to go.

You're one in a "Minion"! 
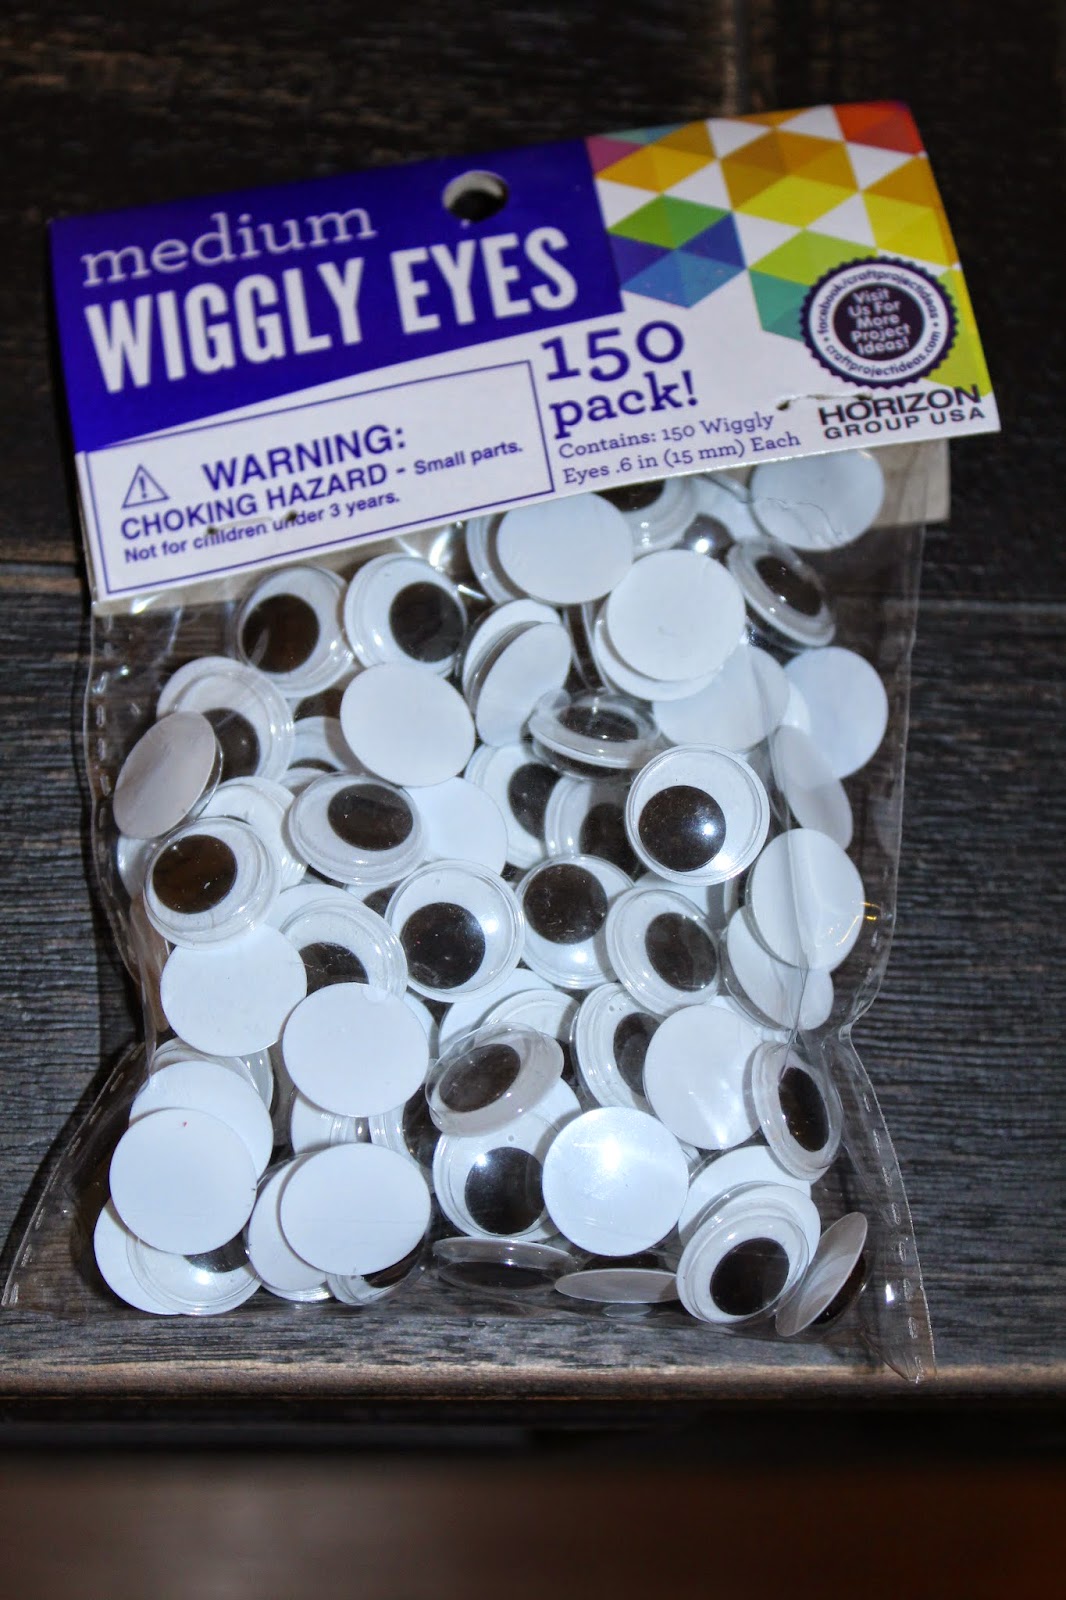
My 10 year old decided on a Minion project. This one cost a bit more money than the "use what I already have in my house" project, but it's cute and I figured since we didn't spend anything on the one project, we could splurge a little. Luckily, our local supermarket was having a sale on Twinkie's so I got a box (10 twinkies) for $1.99. For this project you will also need colored construction paper and googly-eyes (I used the 15mm size), and a black fine tip marker. 


Cut the black construction paper into .5-1mm strips.
Then cut 2"x5" strips of the blue construction paper.

Using different colored construction paper, cut out hearts. I used about 3½"-4" size hearts. Have your kids write their message on the hearts:

You're one in a "Minion"! 

                Wrap the black construction paper around one end of the Twinkie, towards the top. Use tape or glue dots to hold the ends together. Take a googly-eye and use a glue dot to stick the eye to the center of the black strip.

Take the 2"x5" blue paper and wrap it around the bottom of the twinkie and again, use either tape or glue dots to connect the ends.
 Decorate the blue construction paper to look like pants/overalls. 
Then attach the heart to the Twinkie-Minion and you are all set! 


These were fun projects that I was able to do with my kids. And now they have cool Valentine's to take to their classmates at school. I figured this was the last year for my son and only one more year with my daughter doing Valentine's cards (Do they do Valentine's cards in middle school?!?!?) so why not go out with a bang! And if *I* can do it, anyone can do it!! 


Tuesday, January 20, 2015

An Apple A Day ...

Thanks to BzzAgent and OPAL apples, I was able to try OPAL Apples ... a NON-GMO apple that is sweet & crisp! But the most amazing thing about OPAL apples is the fact that they don't "brown"! I would cut apples and put them in my kids lunch boxes for school and I don't know how many times they came home telling me that they threw the apples away because they got "yucky" - they turned brown and mushy. I was unsure of the claims from OPAL Apples about not browning. So I set out to test the apples. I got one out before I went to bed one night and cut it up. I left it out on the counter. The next morning (8 hours later!) I got up and found the apple was still crisp and only a very slight area near the seeds had started to get a little darker. But it wasn't brown! And the apple still tasted sweet & crisp. I was sold! Now for the kids test! I packed their lunched with Opal Apples and sent them off to school. When they came home I asked my usual question ... "How was lunch? Did you eat everything?" Both kids replied that they ate everything, "even the apples!" Wow. Ok, they were sold too!! 


Only a slight darkening around the seed area.
This is hours after cutting the apple open!


Opal Apples are a bit more pricey than other apples. And they are also a little harder to find. They are not available in all stores. I am lucky that my Vons carries them. So even though they are a little more pricey, for me they are worth it because they are actually being eaten and not thrown out! I hate wasting food.

A perfect, healthy after-school snack! 
So OPAL Apples are a hit with this mom. And better yet ... they are a hit with the kids too! They have even asked for OPAL apples as a snack when they get home from school! Can't complains about that! 

For a list of stores near you that carry OPAL apples, please check out their website:
http://www.opalapples.com/

Thank you Opal and BzzAgent for the yummy opportunity to try these delicious apples! 


A BIG thumbs up from both the kids
for OPAL Apples!! 


Wednesday, November 12, 2014

Who's Ready for a Little Adventure?


 "Twenty years from now, you will be more disappointed by the things you didn't do than those you did. So throw off the bowlines. Sail away from safe harbor. Catch the wind in your sails. Explore. Dream. Discover."
 — Mark Twain, Great American Writer
♥~~~~~~~~~~~~~~~~~~~~~~~~~~~~ ♥


My family loves adventure. We love to explore and see new things. So when I heard about an old shipwreck on the coast of Rancho Palos Verdes that you could hike to ... we were OFF! 


It is fairly easy to get there. From Pasadena, it took us roughly 45 minutes. We went on a Sunday and I was expecting it to be more crowded but it wasn't at all and there was ample street parking. We parked near the intersection of Paseo Del Mar and Cloydon. Between two houses (ok, fine, big, huge, sprawling mansions - you are in Palos Verdes, afterall!!) is a drainage pipe that heads down the cliff. This is where you want to head down. There are other areas along the coast that you can try to maneuver down, but with 2 kids, this seemed like the safest way to get down. Concrete has been poured on the cliff to make it less slippery heading down. Take your time and it is fairly easy. 
Once you make it to the bottom, head West (for the more navigational-challenged, go left!) 
You will be walking on rocks the entire time so I HIGHLY recommend wearing good hiking boots that keep your ankles stable. We all were wearing tennis shoes and paid the price later on with sore feet & ankles. 


The shipwreck debris is roughly 2 miles from this point. There are many things to see along the way ... we happened upon this makeshift wall where people before us had added things to the wall. There was a big shell there that my daughter wanted to take. I asked her is she liked looking at the wall with all the things people had left and she said, "Yes". I then went on to explain that if she took it, it wouldn't be there for other people to admire and instead of taking the shell, why don't we find something interesting and on our way back, we can add to it. This made her very excited and the 2 mile trek to the shipwreck debris was spent exploring for what she wanted to leave behind.


We picked a great day to hike. It wasn't too warm and the sun kept playing peek-a-boo behind the clouds so it was never beating down on us. This made for a much more pleasant hike. Along the way we saw many abandoned lobster traps strewn along the coast. We also saw many dead lobsters, and a few dead birds as well. We briefly spoke to a couple that we passed on our hike and they said there was a dead fox, a dead sealion and dead squid as well, However, we did not see them but at times during our hike, we sure smelled something dead!!! Eeeeew.
We also encountered seagulls, pelicans and sandpipers. 

Before you actually get to the debris site, you will start to see scattered rusty metal pipes & other other pieces here & there. In the distance you will see what appears to be a tractor or a crane. When you see that, you know you are close, as the shipwreck is just around that bend.

Once you see the crane, you know you are close!

There are a couple of big pieces of the shipwreck as well as many smaller pieces scattered around. They are very old & rusty so please exercise caution, especially with younger children. 


As well as the scattered remains of the shipwreck, there are hundreds of tidepools with crabs, sea urchins, starfish and other marine life. We have a rule in our family ... you can pick up and be gentle, but you must put it back. Both kids loved having the crabs crawl on them and their giggles as the crabs "tickled" them was so cute. But after a few minutes, they gently put the crabs back into their home. 


Sadly, the sun was beginning to set and we had to leave and start our 2 mile trek back.(trust me, the 2 miles back is much harder than the 2 miles there!! My legs will testify to that!) The sun gave a spectacular show as it was setting on us, begging us to return another day, which we will surely do!


The most rewarding thing of the day was as we were leaving and headed home, both kids thanked me for all the adventures we go on! I am so grateful to be able to share these experiences with my children and I can only hope that they get us much out of our precious time as I do. 

Goodnight, Palos Verdes. Thank you for a wonderful Adventure! 

The story doesn't end there, though! When we got home, I had both kids do a little research on the Shipwreck and then they shared what they learned with Mike & I. At first, both kids groaned a little bit when I asked them to do it, but afterward, they both said it made their adventure that much more interesting. If you are interested in learning more about the shipwreck of The Dominator, here are 2 fascinating websites:


And that night, when the kids added their Thankful Leaves to our traditional Thankful Tree, both kids shared how thankful they were for adventures! I hope that their love for adventure never ceases! 
Our 2014 Thankful Tree


"I am thankful for adventures
because they always have
something new"
-Sawyer
"I am thankful for the beach
because when I go it takes me on
fun adventures"
-Savannah