Wednesday, May 13, 2015

Kid Tested and Kid Approved (but what about Mom?) Red Baron Brick Oven Pizzas

Let me start out by saying I absolutely love BzzAgent. There are so many "free-sample" sites out there, some of them scams, some are just ... eh. But I find BzzAgent to be one of the top sites. Thanks to being a member, I have been able to try some great products. We are converts to Opal© Apples & Hemisfares© Pasta thanks to BzzAgent. Savannah still loves & plays with her Ever After High Thronecoming. I am always excited when I qualify for a new mission through BzzAgent. 


The latest mission I qualified for is the Red Baron Brink Oven Pizza. Who doesn't love pizza? When we went to the store to get it, we were very limited on what toppings we could get. And when I say limited, I really mean the only one they had was Pepperoni. Ok, Pepperoni it is.  

Pre-heat oven to 400*
Instructions are easy ... place tin foil and place directly on middle rack for 16-18 minutes at pre-heated 400*. When it came out of the oven, it was golden brown and looked delicious.   

After cutting it, we noticed that the crust was brown and crunchy, but the inside didn't seem to be cooked all the way through.  This is our biggest complaint with store bought frozen pizza - it always seems like the outer edges cook & brown, yet the middle doesn't cook all the way through. We were hoping the Red Baron Brick Oven pizza would be different, but it wasn't. However, it might be because we were also cooking chicken wings at the same time with the pizza. So we will definitely have to try again, cooking the pizza alone. 

Now came the taste test ... the kids thought it was really good. But all pizza to them is good. 
Pizza & Buffalo Wings
Yummm!
My husband & I are a little more picky. I will be honest and say that it wasn't great. The cheese was good and there was plenty of it. The pepperoni was also good. For us (and this is just a personal preference) there was too much sauce and it had somewhat of a sweetness to it. I prefer pizza with less sauce and I do not like sweet sauces at all. It wasn't too sweet, as some pizzas I have tried have been. But there was a hint of it in the sauce. 

Overall, Red Baron Brick Oven Pizza is good. Not great, but good. Had it cooked differently, my opinion may have been slightly better. I gave this rating a 4 star rating, but it is more like a 3½. Now, if you asked my kids, they would probably give it a 4 or 5. 


I would like to try a different topping and prepare the pizza alone in the oven. This may change my review and if it does, I will be back to update. 
Other toppings available:
Cheese, Pepperoni, Meat Trio (pepperoni, sausage and ham), 
and Sausage Supreme (sausage, green pepper and onion)


*If you are interested in trying products like I do, check out BzzAgent:
http://u.bzz.com/pmpef
(Please use the above link so that they know I sent you!)


Wednesday, April 29, 2015

Solstice Canyon Hike, Malibu CA


Opie - the newest
addition to our family
From the moment I heard about Solstice Canyon, I knew I wanted to take the kids and go hiking here. I mean, come on! It's in Malibu, there are ruins, streams with rock ponds and waterfall! It was calling to me! We just recently adopted a new puppy, Opie (no, he was not named after the little boy on the Andy Griffith show. He was named after my favorite character on Sons of Anarchy) and couldn't wait to break him in and take him on his 1st hike.So after he was up-to-date on all his shots, we grabbed a few of the kids friends and off we set for the Malibu Canyon!


Getting there is very easy (just punch in 3998 Solstice Canyon Rd. CA 90265 into your GPS) There is a small FREE parking lot at the first stop. If you drive a little ways further, there is another FREE parking lot that is slightly bigger. However, I am sure it fills up really fast on the weekend. We went on a weekday so we lucked out with parking. We unloaded and off we went on our adventure ... 

The first part of the trail is paved and very easy to walk, which makes it a great trail for kids ... and puppies. You will come to a bridge and after that, the trail is dirt. But it is wide and still very easy walk for kids (and puppies!). 


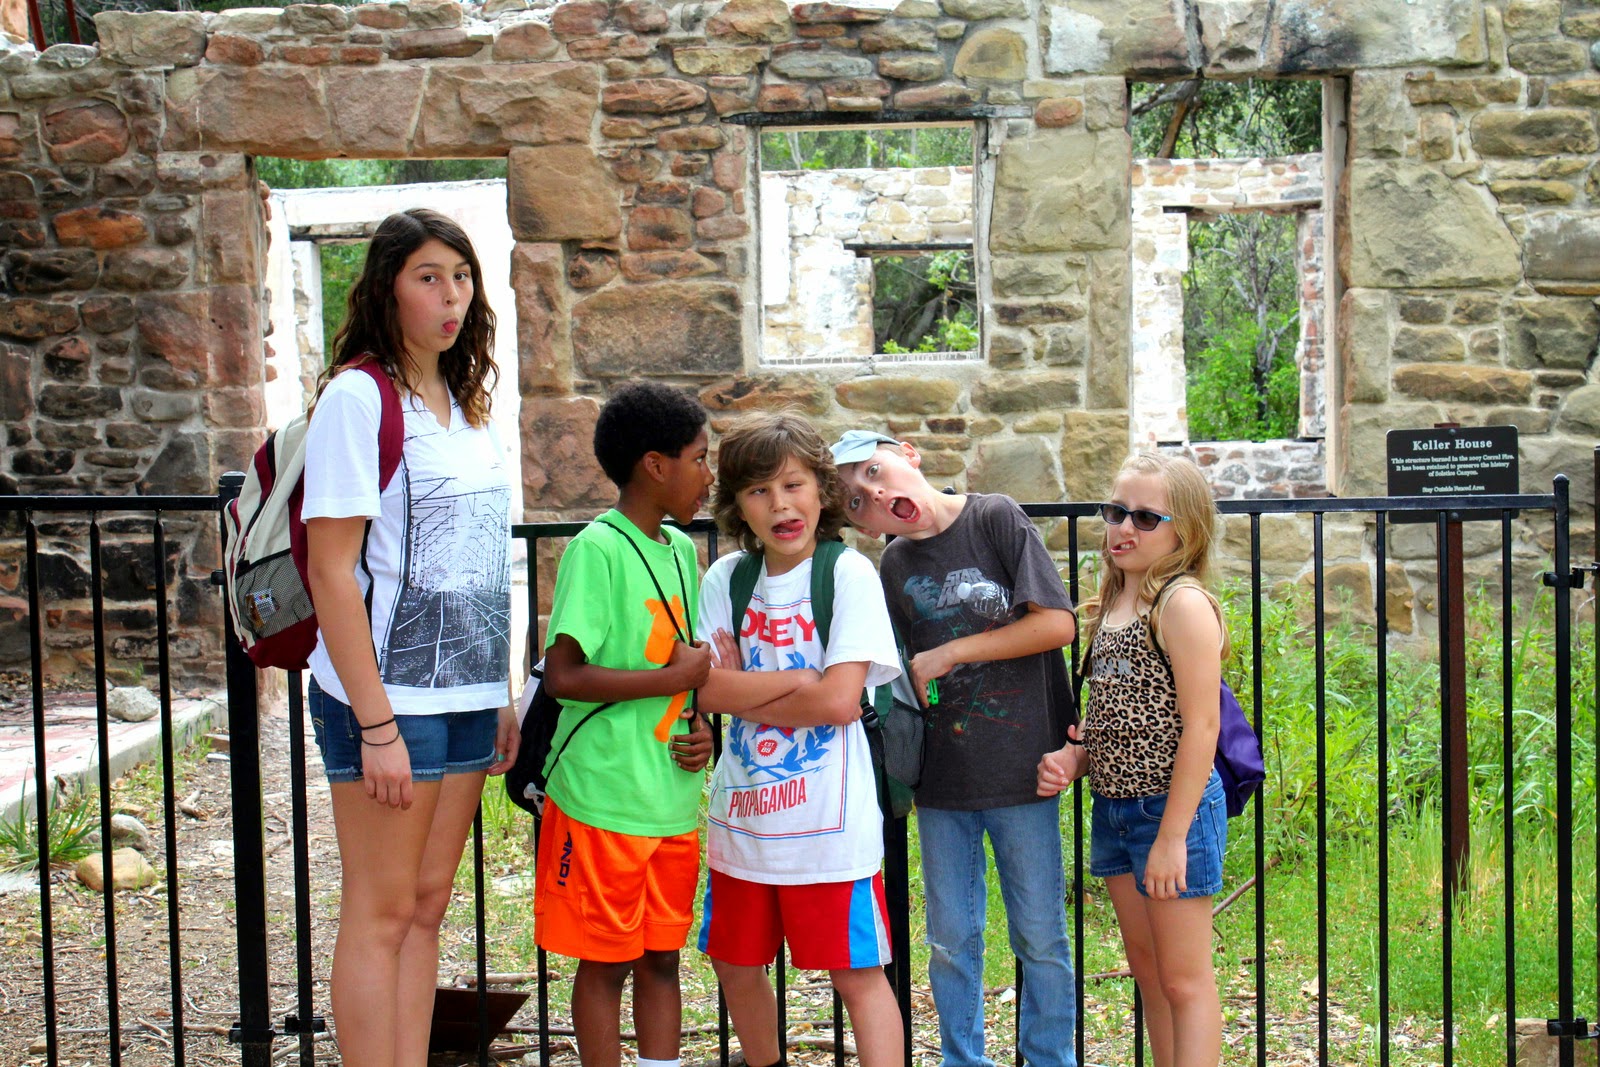
After walking for a short distance you will come upon a sign on the right side. You have reached the 1st of the ruins ... 

The sign tells of a settler named Sweeney who built a wood cabin. A man named Keller bought the land (and cabin) in 1901. A fire destroyed the wood cabin in 1903 and Keller rebuilt it using stone. It stood for many years until a fire in 2007 destroyed it. The outside walls remain.


You can see the structure through the trees & brush, but do not cross here.  
Even though it looks like there is a small clearing leading up to the structure, the area is surrounded by poison oak. If you just walk a few feet more, there is a clearing where you can walk over to the structure. It is gated off so PLEASE respect the area and do not climb over the gate.


BEWARE of crazy wildlife!


This is where our hike got a little interesting ... The boys and the dog walked a few feet up and myself & the girls followed a few feet behind them (still on the trail). My daughter asked, "What is that sound?" and right as we looked down, a rattlesnake slithered over the path and into the bush right next to the path. It coiled and rattled. I knew that a snake can only strike it's body length, so we took a few HUGE steps backward. I got my zoom lens and shot a picture. Now, snakes don't freak me out. Had it been, say ... a tarantula? My butt would have been outta there!! 
Well, hello!

So, even though I am not freaked out by snakes, I definitely do not want to get to know a rattlesnake up close & personal. We gently backed away and continued on, our ears & eyes on high alert.
Thankfully, we did not encounter anymore snakes, but we did see quite a few of it's relatives ... lizards. There were also lots of butterflies & dragonflies fluttering about. However, I think seeing the snake put the kids on edge a bit and after just a little bit more walking, they were done and wanted to

head back.


What little I did see of Solstice Canyon, I loved. I definitely cannot wait to get back there and hike to the mansion ruins, the stream, rock ponds and waterfall. The scenery was just beautiful, and if you go on the right day, you will have the breeze coming off the Pacific Ocean. So stay tuned for a Part II of hiking in Solstice Canyon ... hopefully without the rattlesnake encounter.

the beauty of Malibu Canyon


Oh, and how did the puppy do on his 1st hiking adventure? Well, I think this picture sums it up ...

Sleepy Puppy

Tuesday, February 10, 2015

Easy-Peasy Do-It-Yourself-Valentines!

I am sick of generic Valentine's Day cards that ALL the kids pass out. How many Frozen, Tinkerbell, Superheroes & Cars can one person take?!?!  
I admit, they spruced things up a little bit a few years ago by adding pencils, stickers & tattoo's to the mix. But now all that does is leave me with a drawer full of pencils, stickers & tattoo's that never get used! 

This year, I decided to do something different. Of course, I scoured Pintrest for ideas because that's what all of us non ingenious, borderline creative moms do, right? Thank goodness for Pintrest. 

So, after a few hours of looking at all the amazing, perfect, guaranteed, easy-to-do-yourself Valentines, the kids settled on what they wanted to do. 

My nine year old decided she wanted to make heart crayon molds. Perfect!!! I already had a ton of broken, not-used-anymore crayons just sitting in a drawer. we peeled the papers off all the crayons:

Peel off ALL the paper from the crayons.
Then cut the crayons up.
Fill try with cut up crayons.
Make sure ALL the paper has been removed. 


Next you will need a silicone tray. Lucky for me I had 2 heart shaped silicone ice cube trays that I had bought from Target in the Dollar Bin section! Fill the silicone tray with the cut up crayons


 Next we placed them in the oven, set at 200* for 10 minutes. Just to be safe, I placed the trays on a cookie sheet lined with aluminum foil, but this was just an extra precaution and it really didn't need it. It is helpful when having to take the trays out of the oven, because the silicone does get warm. So it's just easier to remove the cookie sheet. It's fun watching all the colors melt & blend together ...
Place in oven at 200* for 10 minutes
Crayons melting & blending together. 

Once you take the trays out of the oven, place them in the freezer. Be VERY careful when moving them as you don't want melted wax pilling on yourself or anything else. Yes, I found out the hard way and spent a good half hour using a paint scrapper to get melted wax off the
 kitchen floor.
Place in freezer for 10-15 minutes.
Or when the crayon has hardened.

After placing the trays in the freezer for a short period of time (about 10-15 minutes. You want them hard, but not too hard), remove the trays and gently push from the bottom to pop the mold out. I did over 30 and only broke one. For me, that is an accomplishment! 
Crayon Heart Molds

After the hearts were out, we cut out papers and used glue dots to affix them to the paper. You can use any design paper you like. 
Once we got all the hearts on the papers, my daughter wrote her Valentine message:
You Color my World!
Happy ♥ Day! 


The Finished product!! 


Phew!! One down ... one to go.

You're one in a "Minion"! 
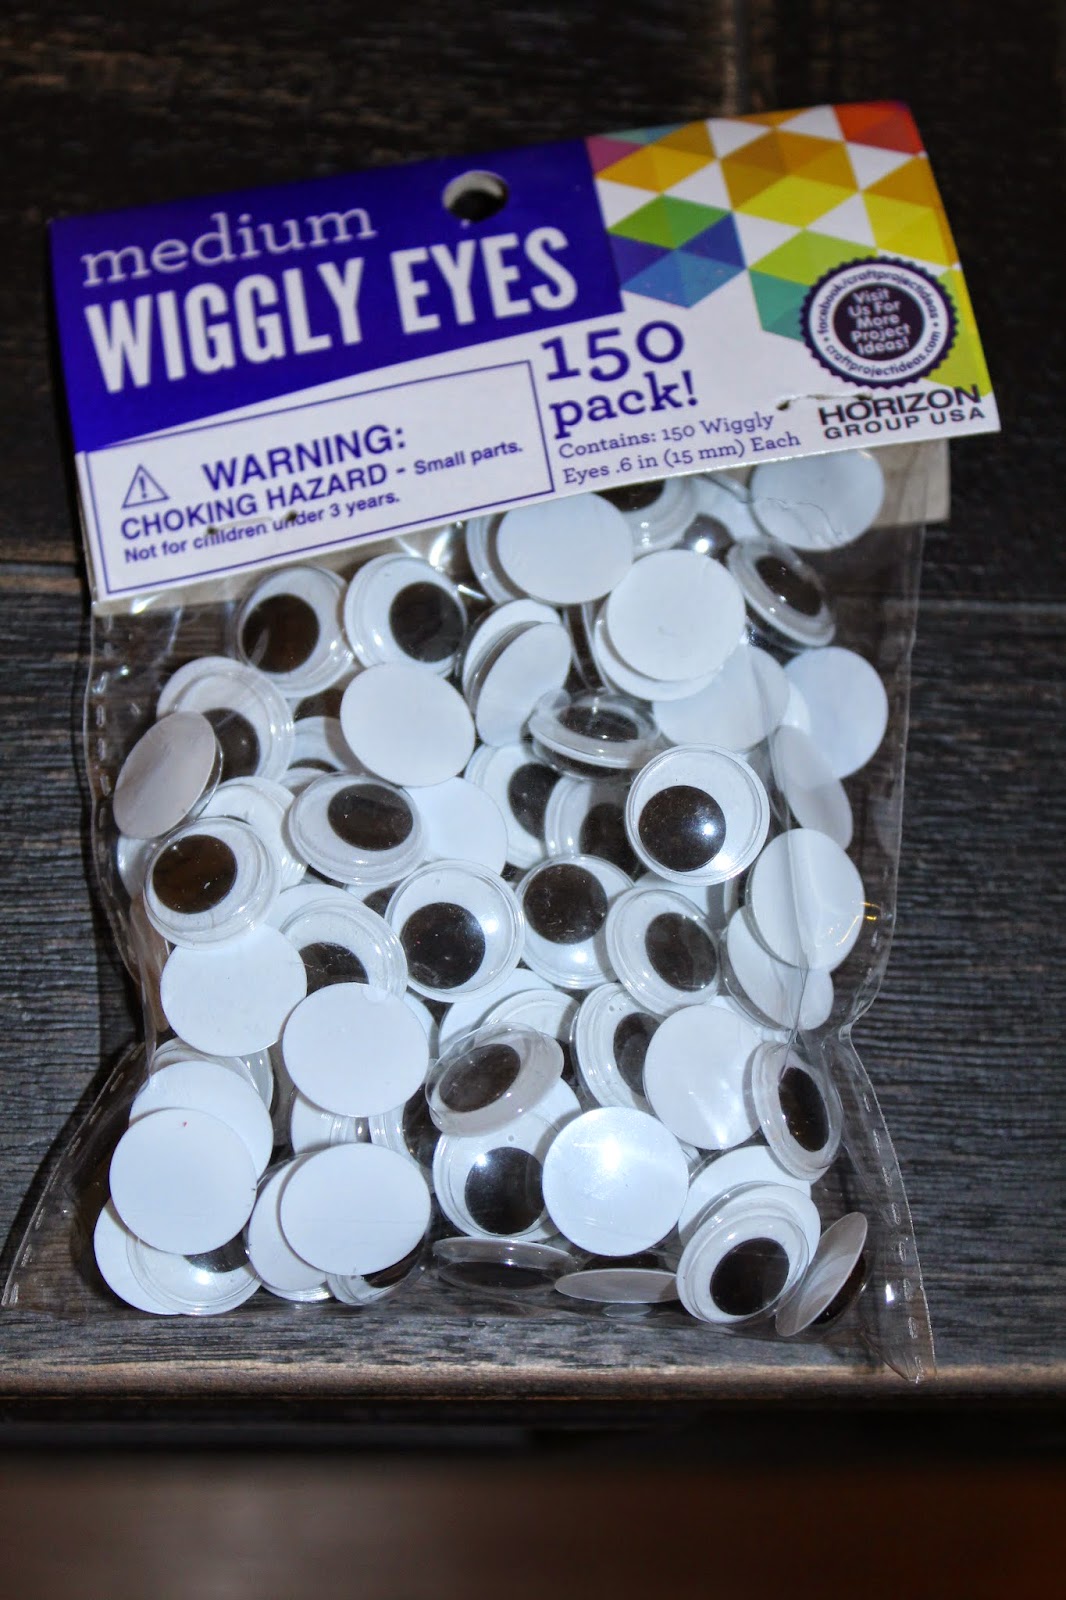
My 10 year old decided on a Minion project. This one cost a bit more money than the "use what I already have in my house" project, but it's cute and I figured since we didn't spend anything on the one project, we could splurge a little. Luckily, our local supermarket was having a sale on Twinkie's so I got a box (10 twinkies) for $1.99. For this project you will also need colored construction paper and googly-eyes (I used the 15mm size), and a black fine tip marker. 


Cut the black construction paper into .5-1mm strips.
Then cut 2"x5" strips of the blue construction paper.

Using different colored construction paper, cut out hearts. I used about 3½"-4" size hearts. Have your kids write their message on the hearts:

You're one in a "Minion"! 

                Wrap the black construction paper around one end of the Twinkie, towards the top. Use tape or glue dots to hold the ends together. Take a googly-eye and use a glue dot to stick the eye to the center of the black strip.

Take the 2"x5" blue paper and wrap it around the bottom of the twinkie and again, use either tape or glue dots to connect the ends.
 Decorate the blue construction paper to look like pants/overalls. 
Then attach the heart to the Twinkie-Minion and you are all set! 


These were fun projects that I was able to do with my kids. And now they have cool Valentine's to take to their classmates at school. I figured this was the last year for my son and only one more year with my daughter doing Valentine's cards (Do they do Valentine's cards in middle school?!?!?) so why not go out with a bang! And if *I* can do it, anyone can do it!! 


Tuesday, January 20, 2015

An Apple A Day ...

Thanks to BzzAgent and OPAL apples, I was able to try OPAL Apples ... a NON-GMO apple that is sweet & crisp! But the most amazing thing about OPAL apples is the fact that they don't "brown"! I would cut apples and put them in my kids lunch boxes for school and I don't know how many times they came home telling me that they threw the apples away because they got "yucky" - they turned brown and mushy. I was unsure of the claims from OPAL Apples about not browning. So I set out to test the apples. I got one out before I went to bed one night and cut it up. I left it out on the counter. The next morning (8 hours later!) I got up and found the apple was still crisp and only a very slight area near the seeds had started to get a little darker. But it wasn't brown! And the apple still tasted sweet & crisp. I was sold! Now for the kids test! I packed their lunched with Opal Apples and sent them off to school. When they came home I asked my usual question ... "How was lunch? Did you eat everything?" Both kids replied that they ate everything, "even the apples!" Wow. Ok, they were sold too!! 


Only a slight darkening around the seed area.
This is hours after cutting the apple open!


Opal Apples are a bit more pricey than other apples. And they are also a little harder to find. They are not available in all stores. I am lucky that my Vons carries them. So even though they are a little more pricey, for me they are worth it because they are actually being eaten and not thrown out! I hate wasting food.

A perfect, healthy after-school snack! 
So OPAL Apples are a hit with this mom. And better yet ... they are a hit with the kids too! They have even asked for OPAL apples as a snack when they get home from school! Can't complains about that! 

For a list of stores near you that carry OPAL apples, please check out their website:
http://www.opalapples.com/

Thank you Opal and BzzAgent for the yummy opportunity to try these delicious apples! 


A BIG thumbs up from both the kids
for OPAL Apples!!